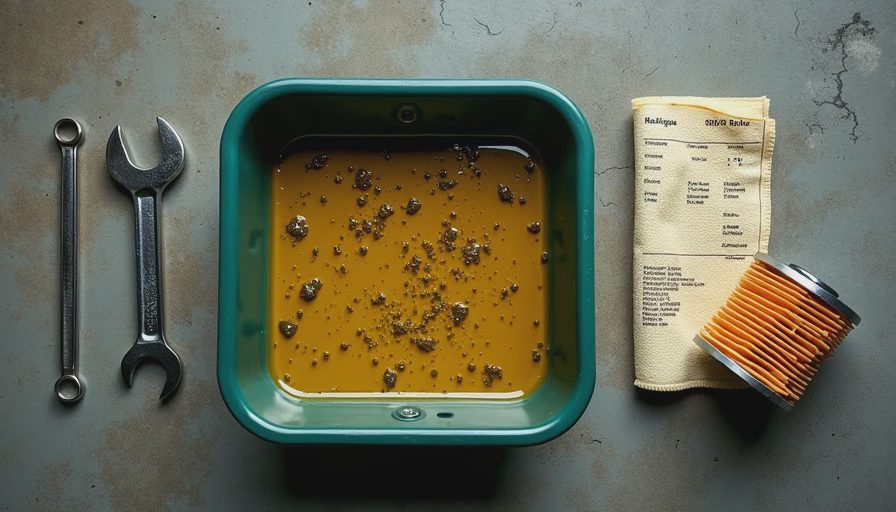
If you are trying to figure out **metal shavings in oil after oil change**, this post will help you sort normal material from real engine trouble. You will be able to look up what fresh oil can reveal, which particles matter, what the oil filter can tell you, and when to stop driving. Here's the chemistry, here's the spec, here's what to do with it. In most cases, a tiny amount of fine metallic sparkle is very different from visible flakes, chips, or magnetic slivers.
What is normal and what is not
Fresh engine oil is transparent enough to expose debris that older, darker oil can hide. That is why some people notice metal right after service and assume the oil change caused the problem. Usually, it did not. The new oil simply made contamination easier to see during draining, on the dipstick, or in the filter.
A very small amount of fine, dust-like metallic material can be normal in some situations, especially after engine break-in, recent internal repairs, or the first short interval after replacing valvetrain or timing components. That said, **metal shavings in oil after oil change** becomes a concern when the material is easy to see, can be felt between fingers, or collects in obvious flakes in the drain pan.
Reference Box: API SP and SAE viscosity grades define oil performance and viscosity, but they do not excuse visible hard metal debris in service oil.
If your customer asks, the one-line answer is: a faint shimmer may be minor, but chips, curls, or magnetic fragments need follow-up before the vehicle stays in regular service.
What the type of metal can tell you
The shape, color, and magnetic behavior of the debris matter. Ferrous particles, which stick to a magnet, often point toward steel or iron wear from rotating assemblies, timing chains, camshafts, crankshafts, cylinder liners, or oil pump components. Non-ferrous material does not stick to a magnet and may come from aluminum housings, pistons, or bearing overlay materials.
Copper-bronze colored particles deserve attention because many engine bearings use layered construction. A worn plain bearing may first shed softer overlay, then expose copper-toned layers before serious damage follows. Bright silver flakes can suggest aluminum wear. Dark steel slivers often raise concern for chain, cam, or cylinder wall distress.
On the spec sheet, the number that decides it is not color but wear trend. In fleet work, ASTM D5185 elemental analysis is often used to trend iron, copper, aluminum, lead, and silicon over time.
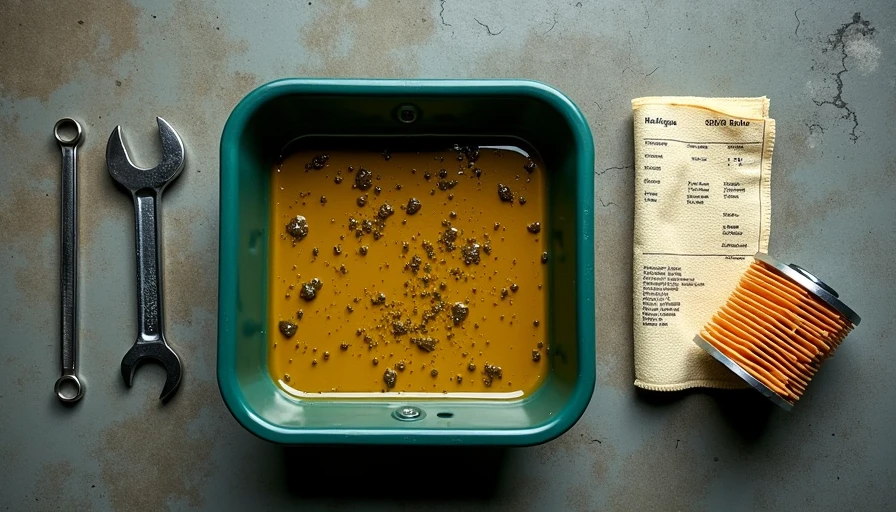
For a single vehicle in a home garage, you probably will not start with lab analysis, but you can still do useful sorting. Pass a clean magnet through the drain oil, cut open the oil filter if you have the proper tool, and note whether the debris is powder, glitter, flakes, or needle-like slivers. That basic inspection often tells you whether you are looking at mild residue or an active failure.
Common causes after an oil change
There are several reasons **metal shavings in oil after oil change** shows up. The most innocent is simple visibility: new oil and a clean drain pan make old wear material easier to notice. Another common cause is extended oil intervals. When oil has been run too long, contaminants and wear particles accumulate, and the first proper service exposes what has been building for months.
Recent mechanical work is another factor. An engine that just had cam phasers, timing components, piston work, or a rebuilt short block may release a limited amount of post-repair debris during the first interval. In that case, the repair history matters as much as the particles themselves.
The more serious causes include bearing wear, timing chain wear, oil pump damage, piston scuffing, ring or cylinder wall contact, and valvetrain distress. Dirt ingestion from a bad air filter seal can also accelerate wear. Silicon in oil analysis sometimes points that direction, although silicon can also come from sealants.
Reference Box: ASTM D4177 and D4057 cover sampling practice and manual sampling of petroleum products; clean sampling matters if you want meaningful lab results.
Checks to make before you keep driving
Start with the basics. Verify the oil level, the correct SAE grade, and the proper filter part number. A wrong filter, low oil level, or severe dilution can worsen an existing wear problem. Listen for new sounds: rod knock under load, timing chain rattle on startup, valvetrain ticking, or low oil pressure warnings all raise the urgency.
Next, inspect the drained oil and the filter. Cutting open the filter is one of the best low-cost diagnostic steps. The filter media traps particles the drain pan misses. If the pleats contain only a trace of fine sparkle, that is one conversation. If the pleats contain visible metallic flakes across multiple sections, that is another.

If the vehicle has over 100,000 miles, unknown maintenance history, or recent overheating, I strongly suggest sending a sample to a used oil analysis lab. Many labs offer kits in the roughly $35 to $50 range, and the report can flag elevated iron, copper, lead, fuel dilution, coolant contamination, and viscosity change. That is often cheaper than guessing and much cheaper than replacing the wrong part.
When it is safe to monitor and when it is time to stop
You can usually monitor the condition if there are no abnormal noises, no warning lights, no drivability issues, and only a very light metallic sheen with no obvious chips. In that case, run a short interval, often 500 to 1,000 miles, then inspect again. Pair that with a fresh filter and, ideally, an oil analysis sample.
Do not keep driving normally if **metal shavings in oil after oil change** includes flakes you can pick up, magnetic needles, copper-heavy debris, or enough material to coat the drain pan or filter pleats. Also stop if oil pressure drops, knocking appears, or the engine recently overheated. Those signs move the issue from monitoring to diagnosis.
If your customer asks, the one-line answer is: monitor a trace, investigate a pattern, and shut it down for chunks, copper, or low oil pressure.
Best practice for cleanup, safety, and next service steps
Used oil should be handled carefully. Wear nitrile gloves, avoid skin contact, and drain into a clean container if you plan to inspect or sample it. Store waste oil in a labeled, sealed container and take it to a proper recycling point. Do not mix used oil with brake cleaner, coolant, or solvents, because that complicates disposal.
For the next service, use an oil that meets the vehicle's required API category and OEM specification, along with the correct SAE viscosity grade. Do not try to solve mechanical wear with thick oil as a shortcut. Sometimes a heavier grade masks noise, but it does not fix the source of the metal.
The practical path is simple: document what you found, inspect the filter, sample the oil if the result is unclear, and shorten the next interval. **Metal shavings in oil after oil change** is not always catastrophic, but it is always worth classifying correctly. Here's the chemistry, here's the spec, here's what to do with it.



No comments yet — be the first to share a thought.