After reading this reference, you will be able to look up what a spark plug does, interpret its heat range, identify common deposits, choose the correct replacement, and install it without damaging the cylinder head. A spark plug is a small part, but its exposed tip operates in combustion temperatures, electrical voltages, and pressure conditions that make specification important. Here's the chemistry, here's the spec, here's what to do with it.
What a spark plug actually does
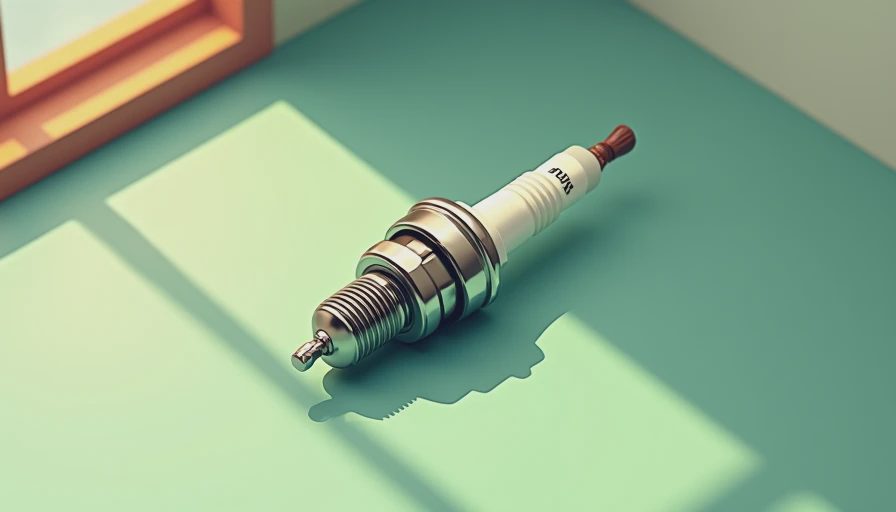
A spark plug provides the controlled electrical gap where the ignition system releases energy into the air-fuel mixture. The center electrode receives high voltage through the terminal and internal resistor, while the ground electrode completes the circuit through the shell and cylinder head. When voltage exceeds the gap's dielectric strength, the gas ionizes and an arc forms. That short-duration arc starts flame growth in the combustion chamber.
The plug is also a heat-transfer component. Heat moves from the firing tip through the insulator, center electrode, internal hardware, shell, and cylinder head. It must stay hot enough to resist deposits but cool enough to avoid becoming an unintended ignition source. That balance explains why a correct part number matters more than a visually similar thread size.
Reference Box: The one-line function is ignition plus controlled heat removal. The engine does not need the hottest possible plug; it needs the specified operating range for its chamber and load.
A resistor type reduces radio-frequency interference and can protect electronic controls from ignition noise. Resistor value, thread reach, seat style, terminal design, electrode material, and heat range are all part of fitment. A plug that screws into the head can still be wrong for the engine.

Reading heat range and electrode materials
Heat range is not a temperature setting that makes an engine run hotter or colder in the ordinary sense. It describes how readily the firing end transfers heat away. Numbering is not universal: one manufacturer's higher number can represent a colder design, while another uses the opposite convention. Always read the catalog's application data rather than comparing numbers across brands.
Copper-core designs usually describe the internal core material, not a bare copper firing tip. Platinum and iridium electrodes use smaller, wear-resistant firing surfaces that can support a durable gap and lower required firing voltage. They do not automatically add horsepower. Their value is consistent ignition, service life, and resistance to erosion when the application and ignition system are designed for them.
On the spec sheet, the number that decides it is the exact application listing, including engine code when provided. The correct thread diameter, reach, seat, heat range, electrode type, and gap belong together. Do not substitute a colder plug to hide an oil-control problem or a hotter plug to compensate for an overly rich mixture.
A normal firing end often shows a light gray, tan, or brown deposit, although modern fuel and engine controls can produce a cleaner appearance. Heavy dry black soot points toward rich operation, weak ignition, restricted airflow, or extended idling. Wet fuel suggests a misfire or an engine that is not completing combustion. Oily deposits indicate oil entering the chamber through rings, valve guides, or turbocharger-related hardware, depending on engine design.
Diagnosing misfires and deposits
When a customer brings in a fouled spark plug, record the cylinder location before cleaning anything. Compare all cylinders, inspect the ignition coil and boot, and scan for diagnostic trouble codes. A single-cylinder issue often leads toward an injector, coil, compression problem, or localized oil entry. Similar deposits across every cylinder suggest fueling, ignition supply, crankcase ventilation, or operating-condition problems.
Do not diagnose solely from color. Use a compression test, leak-down test, fuel-trim data, and ignition inspection when the evidence points beyond the plug. A cracked ceramic insulator can create an intermittent misfire even when the electrodes look acceptable. Carbon tracking on the outside of the insulator usually indicates that the spark has been escaping along the boot rather than jumping the intended gap.
A spark plug gap must match the engine specification. Widening the gap can increase the voltage demand, especially under boost or heavy load. Closing it with excessive force can damage a fine-wire electrode or bend the ground strap unevenly. Use a suitable wire gauge or gap tool and inspect the result under good light.
For a practical comparison, a commuter engine with stable fuel control may offer long service intervals with fine-wire electrodes. A turbocharged engine, a high-mileage engine consuming oil, or a fleet vehicle that idles for long periods deserves closer inspection even if the replacement interval has not arrived. Maintenance schedules are starting points; operating conditions complete the diagnosis.
Installation procedure that protects the cylinder head
Begin with the engine cool unless the service information specifically states otherwise. Blow loose dirt away from the plug well before removal so debris does not fall into the cylinder. Disconnect the coil or wire carefully, using the boot rather than pulling on the conductor. A plug socket with a retaining insert helps prevent dropped parts, but it does not replace careful alignment.
Start the new spark plug by hand with a short extension. If the threads do not turn smoothly for several rotations, stop and investigate. Cross-threading an aluminum head can turn a routine service into a thread-repair job costing several hundred dollars. Use the manufacturer's torque specification and the correct seat type. Taper-seat and gasket-seat designs do not tighten the same way.
Anti-seize is not automatically appropriate. Many current plugs have plated threads, and applying compound changes friction and can produce excessive clamping load at the specified torque. Follow the plug maker's instructions. Dielectric grease belongs inside the ignition boot as a moisture seal, not on the firing tip or threaded portion.
After installation, reconnect each coil or wire fully, start the engine, and listen for a stable idle. A short road test under the conditions that caused the complaint is more useful than simply confirming that the engine starts. Recheck for stored or pending misfire codes when a scan tool is available.
Safe handling, inspection, and disposal
Used plugs are not usually managed like used motor oil, but they should still be handled as contaminated metal parts. Wear eye protection when brushing deposits or using compressed air, and avoid breathing dust from combustion residues. Do not wire-wheel a plug while it is connected to an ignition system. Keep removed parts in a container instead of leaving sharp electrodes on a workbench or in a vehicle footwell.
A cracked ceramic insulator, damaged thread, or eroded electrode belongs in the shop's metal-recycling or waste stream according to local rules. Do not reuse a plug merely because it cleaned up well; cleaning cannot restore an eroded gap or reverse a hidden insulator crack. Used oil, fuel, solvent, and oily rags require separate handling under shop procedures and applicable EPA or local requirements.
A quick counter-reference for technicians
If your customer asks, the one-line answer is this: select the exact cataloged plug, then investigate the engine condition that caused unusual wear or fouling. Confirm the part number against the engine code, compare the removed plug from each cylinder, verify the gap, and torque the replacement with a cool head and clean threads.
A spark plug is not a tuning shortcut. A different material can improve durability when it is approved for the application, but a different heat range or reach can create serious problems. Keep service records that show mileage, part number, gap, cylinder findings, and any diagnostic codes. That record helps the next technician distinguish a normal replacement from a recurring combustion fault.
The most reliable workflow is simple: identify the specification, inspect the evidence, correct the underlying fault, and install the replacement with controlled torque. That is the useful answer at the parts counter and in the service bay.




No comments yet — be the first to share a thought.