Prevent Costly Engine Damage: The Complete Toyota Corolla Coolant Flush Guide
Why This Matters
Ignoring your cooling system is a gamble you do not want to take. I once saw a 10th generation Corolla come into the shop because the temperature gauge crept up during a commute. There were no leaks, no steam, and no warning lights, but the heater was blowing hotter than usual. That subtle sign indicated hidden blockages. After a complete radiator flush, the temperature stayed steady and the heater normalized. Neglecting this maintenance can lead to warped cylinder heads, a blown head gasket, or total engine failure. A simple flush refreshes the system, preventing rust and corrosion that cause overheating. Think of it as insurance for your engine's longevity, especially before summer heat or after long winter seasons.
What You Need to Know
Before you pop the hood, you need to understand the fluids and intervals specific to your vehicle. Using the wrong coolant or waiting too long compromises the chemical balance required to protect metal components from corrosion.
Coolant Types and Intervals
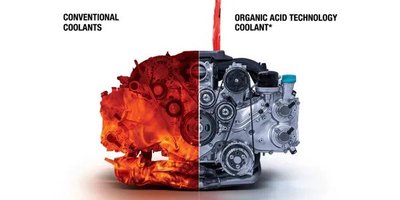
The frequency of your service depends on the model year and fluid type. Most modern Toyota Corollas utilize long-life chemistry.
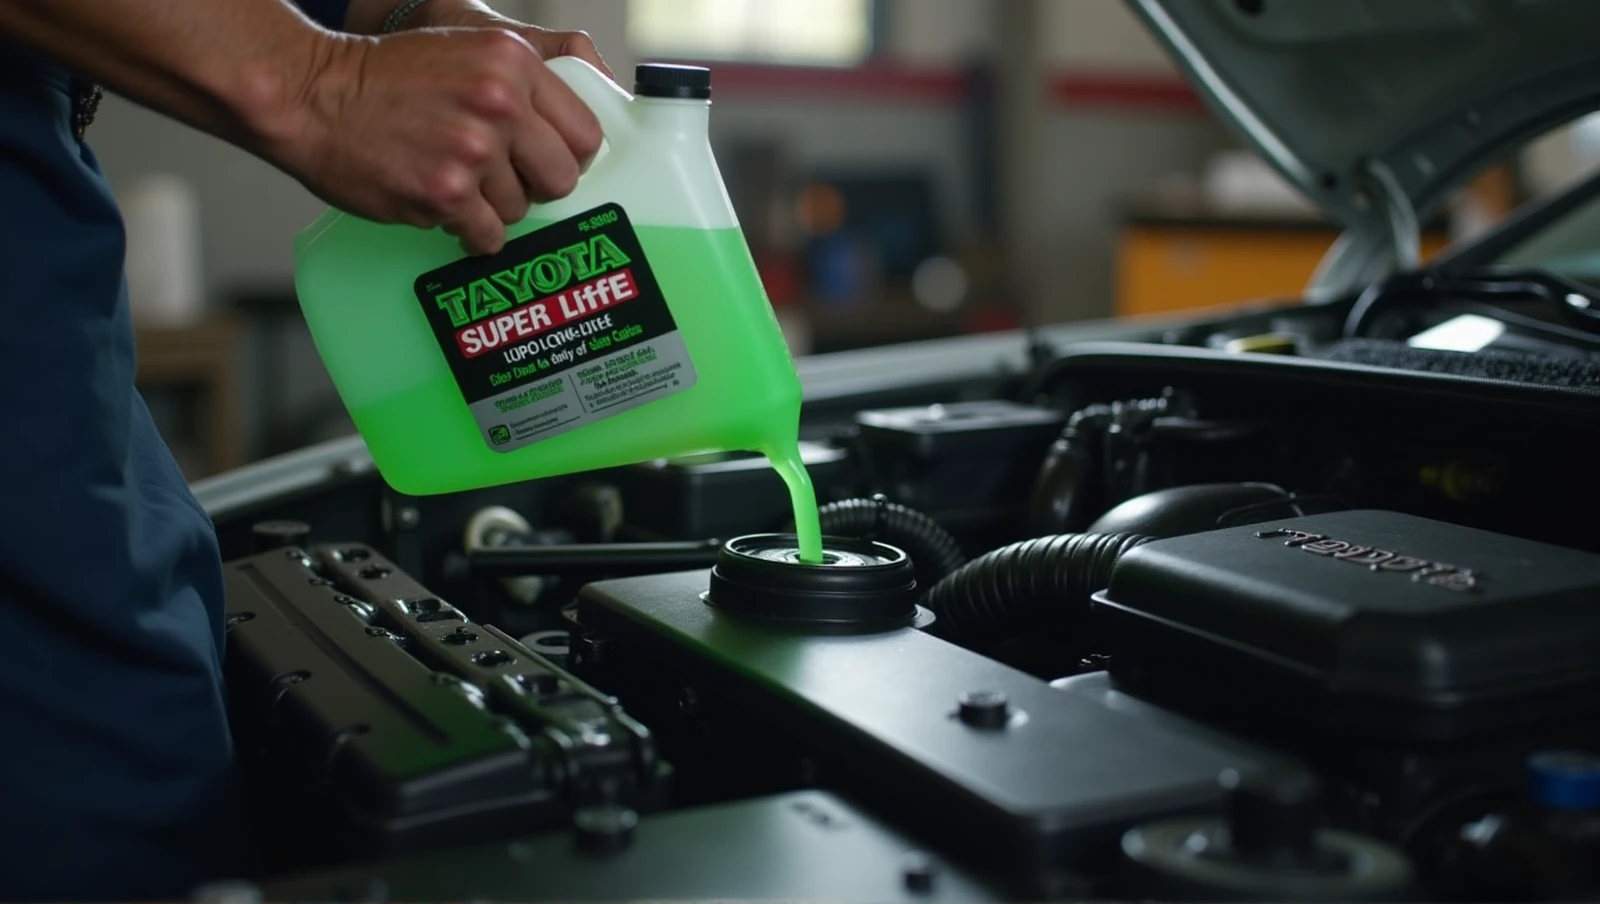
- Long-Life Coolant: Replace every 5 years or 100,000 miles (Toyota Super Long Life Coolant).
- Regular Coolant: Replace every 2-3 years or 30,000 miles.
If you are unsure what your Corolla uses, check the owner's manual or consult a Toyota service center. Using Toyota Super Long Life Coolant ensures compatibility with the radiator and engine materials.
Warning Signs
Do not wait for the temperature gauge to hit the red zone. Look for these indicators:
- Coolant color appears rusty or dirty.
- A sweet smell from the engine bay (indicating a possible leak).
- Heater not working properly.
- Dashboard warning lights for temperature or coolant.
- Low coolant level without visible external leaks.
How It Works
A coolant flush is more than just draining a tank. It is a four-step process designed to remove contaminated fluid and restore thermal efficiency.
1. Draining Old Coolant
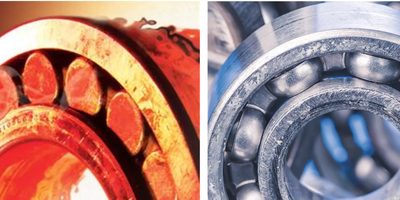
The first step involves removing the degraded fluid from the system. Over time, coolant breaks down and becomes contaminated with rust, scale, and debris. This reduces its ability to transfer heat away from the combustion chamber.
2. Flushing the System
Once drained, the system must be flushed with water or a cleaning solution. This step is critical for eliminating hidden blockages or buildup inside the radiator and engine passages that a simple drain misses. This ensures the new fluid can circulate freely.
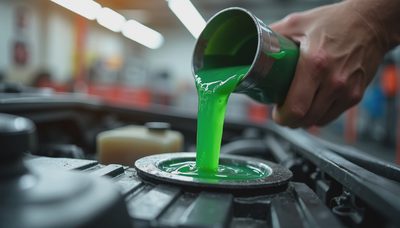
3. Refilling with New Coolant
After flushing, you refill the system with fresh coolant. This restores the corrosion inhibitors and anti-freeze properties necessary to protect the engine from both overheating and freezing conditions.
4. Bleeding Air from the System
The final step is bleeding air from the system. Air pockets can cause hot spots and false temperature readings. Proper bleeding ensures the coolant flows continuously through the heater core and engine block.
Pro Tip: Pay attention to the heater performance during this process. If the heater stops blowing hot after a refill, you likely have an air pocket trapped in the heater core that needs bleeding.
Common Mistakes
Even experienced DIYers make errors when servicing cooling systems. Here is what to avoid.
Ignoring the Heater
Many owners focus solely on the engine temperature. However, the heater core is part of the cooling loop. If the heater starts blowing hotter than usual or stops working, it is a primary sign of cooling system trouble, even if the engine gauge looks normal.
Assuming No Leaks Means No Problems
In the case of the 10th gen Corolla mentioned earlier, there were no wet spots or puddles. Contamination can occur without external leaks. Do not assume the system is clean just because the ground is dry. Rust and scale build up internally over time.
Using the Wrong Interval
Do not treat all coolant the same. Switching from long-life to regular coolant without adjusting your maintenance schedule will lead to premature degradation. Stick to the 5 years or 100,000 miles guideline for long-life fluids to avoid unnecessary work and expense.
Bottom Line
Your Toyota Corolla is known for durability, but a neglected cooling system can cause major problems like engine failure or damaged hoses. A coolant flush removes old, contaminated fluid and replaces it with fresh protection. Whether you are on the 30,000-mile interval for regular coolant or the 100,000-mile interval for Toyota Super Long Life Coolant, staying on schedule prevents overheating. If you notice rusty fluid, sweet smells, or temperature fluctuations, perform a flush immediately. This simple maintenance task saves you from potential overheating issues down the road and gives you more confidence in the car's overall performance.