This reference explains how to select rv antifreeze, read its temperature rating, and protect an RV water system without confusing plumbing antifreeze with engine coolant. The short answer: choose a product specifically labeled for RV potable-water system winterization, follow the vehicle and product instructions, and never substitute automotive engine coolant.
What RV antifreeze is designed to protect
RV antifreeze is intended to protect plumbing components from freeze damage during storage. Depending on the vehicle, those components can include the water pump, supply lines, faucets, toilet valve, outdoor shower, and drain traps. It is not a substitute for the coolant in a motorhome engine or generator.
Reference Box: Potable-water system antifreeze and engine coolant serve different systems. Automotive coolant may contain toxic ethylene glycol and must never be put into drinking-water plumbing.
Many plumbing products use propylene glycol as a freezing-point depressant. Some formulations also contain alcohol or other ingredients. Read the container rather than assuming every pink liquid has the same chemistry. A label should identify the product as suitable for winterizing RV potable-water systems and give application directions and a temperature rating.
Propylene glycol lowers the temperature at which ice begins to form, but a winterizing product's advertised burst-protection temperature is not necessarily its freezing point. Some products can become slushy above their rated burst-protection temperature. Their protection claim concerns resistance to damage under the manufacturer's stated conditions, not a promise that the fluid stays fully liquid.
How to read the temperature rating
On the spec sheet, the number that decides it is the product's stated burst-protection rating for the expected storage conditions. A common label may say minus 50 degrees Fahrenheit, but that does not mean the fluid remains liquid down to that temperature. Consult the manufacturer's data for the distinction between freezing and burst protection.
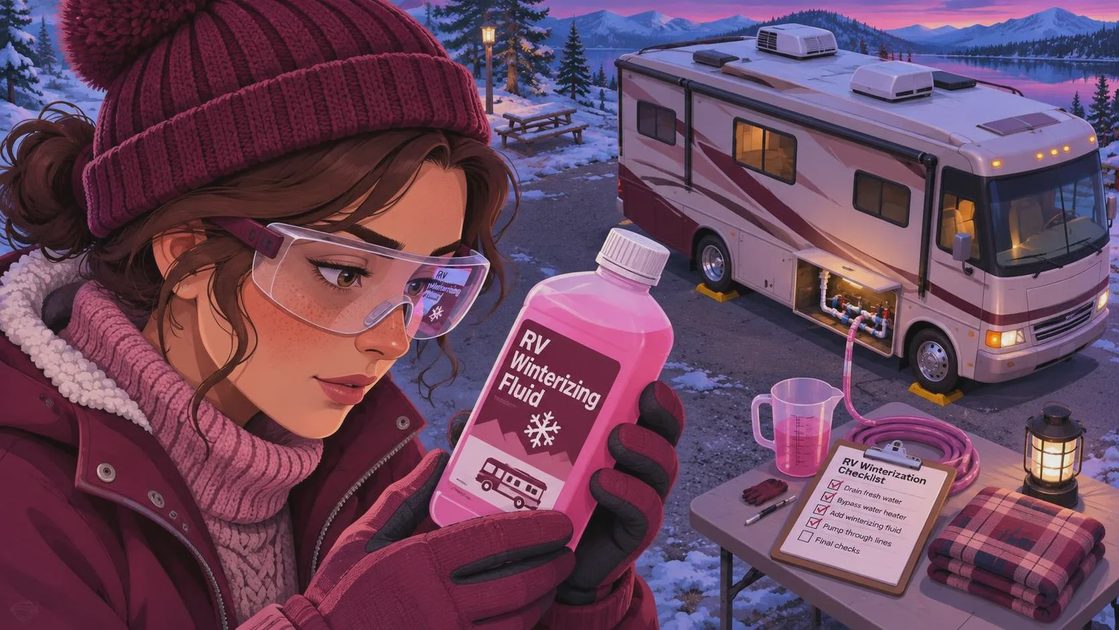
For reference, ASTM D1177 describes a laboratory method for determining the freezing point of aqueous engine coolants. It is not, by itself, an RV plumbing burst-protection specification. A test-method number and a product's suitability claim answer different questions; don't treat one as proof of the other.
Use the product at the concentration on its label. Many RV plumbing formulations are sold ready to use. Adding water to a ready-to-use product can reduce protection, and water left in the lines can dilute it locally. Conversely, don't assume that a concentrated product is ready to pump straight from the container: follow its mixing directions.
The color is a visual aid, not a specification. Pink fluid at a faucet helps show that winterizing solution has reached that outlet, but color alone cannot establish its concentration, ingredients, or suitability for potable-water plumbing.
Preparing the plumbing system
Before adding rv antifreeze, read the RV owner's winterizing instructions and identify the low-point drains, water-heater bypass, pump inlet, and any appliance-specific procedures. Shut off the water supply and pump, relieve pressure, and let the water heater cool completely before opening its drain. Turn off its electric and fuel heat sources; operating an empty heater can damage it.
Drain the fresh-water tank, plumbing, and water heater as the manufacturer directs. A water-heater bypass keeps the tank from filling with winterizing fluid unnecessarily. Confirm the bypass valves are positioned correctly before pumping: valve layouts differ, and an incorrect setting can leave a line unprotected or send fluid into the heater.
Some owners blow out lines with compressed air before adding fluid. If you do, use a regulated pressure within the RV manufacturer's limit, and remember that blowing out lines alone may not empty every pump chamber, valve, or low spot. Follow the instructions for your particular system rather than assuming air has reached everything.
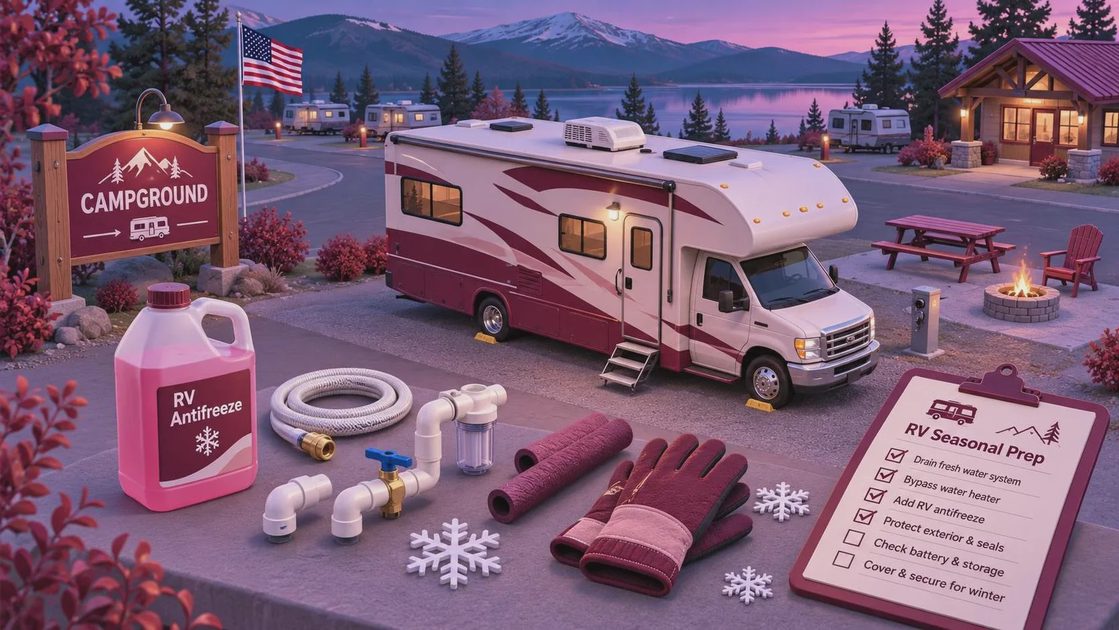
Circulating RV antifreeze through the system
Use the RV's winterizing inlet or a suitable pump-in kit according to its instructions. Draw fluid from the container and open each hot and cold outlet until the solution appears, closing one outlet before moving to the next. Include the toilet, shower, exterior connections, and any low-point fittings the manufacturer specifies. The pump must be protected too; a drained tank does not guarantee an empty pump.
Pay attention to equipment that ordinary faucet checks can miss. Ice makers, water filters, washing machines, dishwashers, and tank-flushing connections can have separate procedures or restrictions. Remove or bypass filter cartridges as directed, and follow each appliance manufacturer's instructions before introducing any chemical. A faucet running pink does not prove a disconnected branch is protected.
Pour the appropriate amount into each drain trap, including the shower and sink traps, following the RV and antifreeze instructions. Protect the toilet and holding tanks as directed for the vehicle. Don't assume that a small amount in a large holding tank will protect residual water throughout that tank.
Here's the chemistry, here's the spec, here's what to do with it: use the correctly labeled fluid at its specified concentration, then verify that it has reached every component the winterizing procedure identifies.
Spring flushing, handling, and disposal
When returning the RV to service, follow the vehicle manufacturer's dewinterizing procedure. Flush the system with potable water until the visible fluid is gone and the manufacturer's instructions are satisfied. Restore the water-heater bypass to its normal position, fill the heater before turning on its heat, and reinstall or replace filter cartridges as directed. Sanitize the potable-water system using the RV manufacturer's procedure; antifreeze is not a sanitizer.
Even products labeled for potable-water system use are not beverages. Keep containers closed and away from children and pets, avoid unnecessary skin and eye contact, and use the precautions on the label and safety data sheet. Clean spills promptly; the fluid can make floors slippery.
Collect drained or flushed rv antifreeze where practical and check local disposal rules and the product instructions. Do not pour it onto the ground or into a storm drain. Fluid contaminated with engine coolant, fuel, or other chemicals needs separate handling; contact a local waste authority or collection facility for an appropriate disposal route. Never put plumbing antifreeze into a used-oil collection tank unless the receiving facility specifically accepts that mixture.


No comments yet — be the first to share a thought.