After this post, you will be able to look up how to read oil dipstick markings, prepare a vehicle for a reliable check, judge the oil level, and recognize conditions that deserve further diagnosis. I teach this procedure because a dipstick is simple hardware, but an inaccurate reading can lead to overfilling, oil starvation, or a missed leak. Here's the chemistry, here's the spec, here's what to do with it.
Prepare the vehicle for an accurate reading
Park on reasonably level ground. A steep driveway can shift oil toward one end of the pan and make the mark misleading. Shut the engine off and wait at least five minutes so oil draining from the cylinder head, timing area, and other passages can return to the pan. Some vehicles specify a longer interval, while certain engines require checking immediately after shutdown. The owner's manual takes priority.
Set the parking brake, place the transmission in Park or neutral as directed, and keep loose clothing away from belts and fans. The dipstick handle may be hot. Use a clean, lint-free shop towel, not a dirty rag carrying grit or brake cleaner. If the vehicle has an electronic oil-level display but also provides a dipstick, use the physical stick when the service procedure permits it; the two systems are useful cross-checks.
Reference Box: Engine oil level is a volume measurement at a defined temperature and resting time. Change the conditions, and you can change the reading without changing the amount of oil.
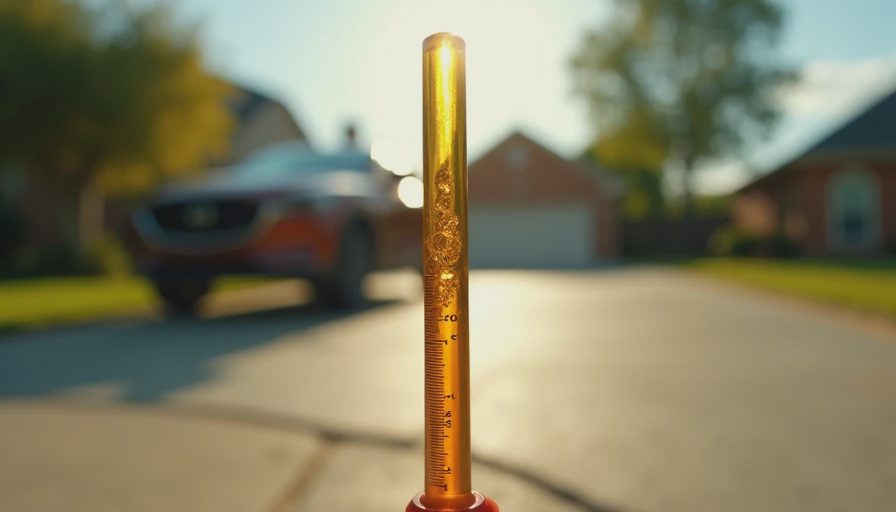
To understand how to read oil dipstick markings, first identify the handle and pull the stick straight out. Wipe the entire blade clean. Reinsert it fully until the handle seats, then remove it again without rotating the blade against the tube. Hold the end horizontal and view both sides in good light. A first pull often shows oil smeared up the tube; the second pull is the measurement.

Read the marks, not the stain
Most blades have two dots, crosshatched lines, holes, or labels such as MIN and MAX. The oil film should end between those marks. On many passenger vehicles, the distance from the low mark to the full mark represents roughly one quart, but that is not universal. A compact engine might use less, and a large truck engine might use considerably more. Never treat one quart as a guaranteed correction amount; verify the capacity in the service information.
If the level is just below the lower mark, add the specified oil in small increments, usually one-quarter quart at a time. Wait several minutes, then recheck. Pouring a full quart immediately can push the level above maximum. Excess oil can contact rotating crankshaft parts, aerate into foam, increase crankcase pressure, and contribute to seal or emissions problems. If the oil is well below the stick, do not assume topping off makes the vehicle ready for a long trip. Look for leaks and consider whether the engine has been operating with inadequate lubrication.
When someone asks how to read oil dipstick results, my short answer is this: the oil must form a clear, continuous film between the calibrated marks after the vehicle has been prepared according to the manufacturer's procedure.
Judge color and texture carefully
Level is the primary reading, but the film also provides clues. Fresh oil can range from amber to nearly clear, while used oil commonly darkens as it suspends soot, oxidation products, and microscopic wear debris. Dark oil alone does not prove that it needs immediate replacement; detergent and dispersant additives are designed to keep contaminants suspended until the oil is serviced.
Watch for coolant contamination. A tan, creamy deposit under the cap or on the stick can indicate water or coolant mixed with oil, although short-trip condensation can create a similar deposit in cold weather. A thin fuel odor may point to fuel dilution, especially on vehicles with repeated short trips, injector problems, or certain regeneration strategies. Metallic glitter, gritty texture, or a strong burnt odor deserves professional investigation rather than a simple oil change.
Do not diagnose an engine from one wipe. Compare the dipstick with the oil filter, drain pan, maintenance history, and any warning lights. Oil pressure warnings are urgent; they are not the same as a low-level reminder.
Add the correct oil without guessing
The viscosity grade, such as SAE 0W-20 or SAE 5W-30, is only one part of the selection. The container must also meet the vehicle's required performance specification, often an API category and sometimes an automaker approval. The owner's manual, oil-fill cap, and service information should agree. A familiar brand name is less important than the correct viscosity and specification for that engine.
Use a clean funnel and keep the bottle tip from touching the filler neck. Add a small amount, allow it to settle, and repeat the measurement. Keep a record of how much was added and at what mileage. A vehicle that needs half a quart between services may simply have normal consumption, while a sudden need for two quarts indicates a leak or internal problem that should not be ignored.
Reference Box: SAE J300 defines engine-oil viscosity grades. API performance categories address engine protection requirements; neither marking tells you the dipstick level by itself.
Common errors and a practical diagnosis
A frequent mistake is checking immediately after an oil change and declaring the engine low. Oil may still be distributed through the filter and galleries. Another is reading the stick while it is angled upward, which lets oil run along the blade. Wiping with a fuzzy towel can leave fibers that resemble debris. Checking on a slope, using the wrong dipstick, or mixing up the engine-oil and transmission-fluid sticks creates equally poor information.
If the level keeps falling, place clean cardboard beneath the parked vehicle overnight and inspect the drain plug, filter area, valve-cover edges, front cover, and rear of the engine. Blue exhaust smoke, oily residue around intake plumbing, or repeated low readings can indicate consumption rather than an external leak. A fleet technician can log oil added per 1,000 miles and compare vehicles of the same model, duty cycle, and service age.
Learning how to read oil dipstick condition is also a way to catch maintenance errors. If the level suddenly rises, investigate fuel or coolant entry before operating normally. Rising oil is not a successful refill.
A repeatable shop-floor procedure
For consistent results, use the same parking surface and waiting interval at every inspection. Record the mileage, engine temperature, oil level relative to the marks, oil appearance, and any odor. Photographing an unusual reading can help a service writer explain the concern without relying on memory.
If the stick is difficult to read, clean it again and inspect it against a bright background. Confirm that the tube is not bent and that the blade belongs to that engine. When a warning light, abnormal noise, severe leak, or very low level accompanies the reading, shut the engine down and arrange diagnosis instead of relying on added oil as a cure.
That is how to read oil dipstick information in a way that supports a real maintenance decision: establish the correct conditions, measure twice, add carefully, and treat sudden changes as evidence. The dipstick cannot identify every failure, but used consistently, it is one of the fastest and least expensive checks in a garage or fleet bay.



No comments yet — be the first to share a thought.